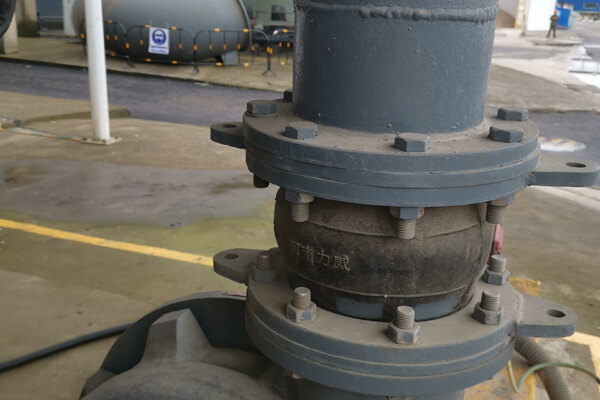
To put a rubber sleeve onto a ball joint, follow these steps:
Preparation: Ensure that both the rubber sleeve and the ball joint are clean, free from any impurities or dirt. If needed, wipe them down with a clean cloth.
Lubricate the rubber sleeve: Apply a suitable lubricant, such as soapy water, rubber lubricant, or lubricating oil, to the inside of the rubber sleeve. This will reduce friction and make it easier to slide the sleeve onto the ball joint.
Align the sleeve and the joint: Align the opening of the rubber sleeve with the ball joint. Make sure the sleeve is in the correct position and orientation.
Slowly push: Use even pressure to slowly push the rubber sleeve onto the ball joint. Avoid using excessive force to prevent damage to the sleeve or the joint.
Adjust and align: Once the rubber sleeve partially covers the ball joint, gently adjust and align the position of the sleeve to ensure even coverage over the entire joint.
Inspect and confirm: Finally, inspect the rubber sleeve to ensure it is properly installed on the ball joint. Make sure there are no areas where the sleeve is raised or misaligned, ensuring a good seal and connection.
It’s important to exercise caution during the installation process to avoid tearing or damaging the rubber sleeve or the ball joint. If you encounter any difficulties or require more complex installation, it’s advisable to consult a professional or refer to the manufacturer’s provided installation guidelines.
Post time: Jul-19-2023


